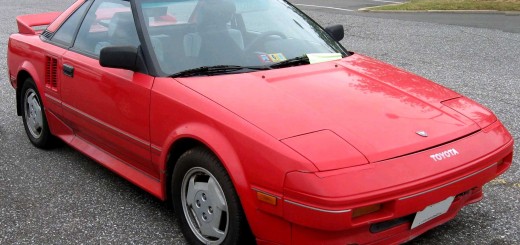
I’ll try to go about explaining the caliper rebuilds. However, this was during my suspension rebuild, so some of the pics may look weird…
Tools needed:
- Various sockets and wrenches
- Screwdriver
- Rebuild kit ~$20(Toyota part # 04479-32011)
- Air compressor (to remove caliper piston)
- Denatured alcohol or brake fluid to clean parts
Front Removal
Here’s the front rebuild kit, about $15 from local auto parts store.
)
1) Loosen lugnuts, raise and support front of vehicle. Remove lugnuts and wheel.
)
2) Drain the brake fluid pressure from the bleed valve on the caliper. Place a hose over the valve and use an 8mm wrench to loosen the valve.
3) Remove the two 12mm bolts that hold the caliper to it’s mounting bracket.
4) Remove the 14mm banjo bolt holding the brake line to the caliper. Expect some brake fluid to leak through.
)
5) Here’s some pics of the caliper removed.
)
)
6) Push the slider out one side of the caliepr. I just used a pair of pliers as shown below to do this.
)
7) It should pop loose, then you can pull it the rest of the way out
)
8) Remove the 2 rubber dust boots.
)
9) Inside the caliper, you will see a collar. Remove this.
)
10) Do the same for the other sliders, and here’s the parts you will have removed.
)
11) Use a small screwdriver to pry out the piston set ring.
)
12) Pull out the piston boot.
)
13) Remove the piston from the cylinder with compressed air connected to the banjo bolt hole. Tighten the bleeder valve and make sure to place a block of wood or a rag inside the caliper, so that when the piston pops out it is not damaged. And believe me it will POP.
)
14) Pry out the piston o-ring with a small screwdriver. Be careful not to score the cylinder walls.
)
15) Just a pic of the cleaned up calipers after under a brass cleaning wheel.
)
16) Clean the sliders and collars in denatured alcohol or clean brake fluid.
)
17) Also, clean the inside of the cylinder and the piston with denatured alcohol or brake fluid.
)
Front Assembly
1) Here’s all the parts laid out:
)
2) Make sure everything is nice and clean. Use denatured alcohol or clean brake fluid.
3) Using the grease that came with the rebuild kit, grease up the cylinder o-ring. And then place it in the cylinder.
)
4) Grease up the piston
)
5) And insert it in the cylinder. It may take some force to get it in there. But it should slide smoothly once over the seal.
)
6) Insert the new cylinder boot around the piston. Then insert its set ring that holds the boot in place.
)
7) Grease the outside of the collar and slide it into the cylinder.
)
8) Grease one of the dust boots and insert it into the cylinder. Then grease up the slider.
)
9) Now, here’s a little trick. Take the other boot, and place it backwards over one end of the slider.
)
10) Insert the end of the boot in the cylinder and slide the slider in place
)
11) Lock the boots in place over the ends of the slider. Repeat steps 7-11 for the other slider.
)
)
12) Reinstallation of the calipers on the car is opposite the removal. Make sure to bleed the brakes properly & thoroughly.
This documentation in no way replaces the Toyota MR2 Repair Manuals. The purpose of this content is only to provide supplementary information to fellow MR2 enthusiasts. Midship Runabout and its contributing authors will not be held responsible for any injury or damages that may occur as the result of practicing any of the methods or procedures described within this website. Article and photo submissions are property of the contributing author.