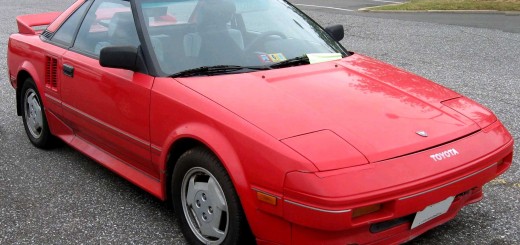
Here’s a step-by-step guide to removing the steering knuckle, in case you need to replace your wheel bearings. The pictures below are with the strut assembly removed as I am doing the entire suspension work at the same time & had just removed the struts.
Tools Needed:
- Various sockets, wrenches, & ratchet
- 2 or 3 jaw puller (don’t get them from Harbor Freight! they stink!)
- Jack & stands
1) Loosen wheel lugnuts. Raise and support front of car, and remove wheel.
)
2) Remove caliper by the two 12mm bolts. Then remove the two 17mm bolts that attach the mounting brackets to the steering knuckle, indicated below. Remove the mounting bracket and brake pads from the rotor.
)
3) The rotor should then pull off.
)
4) Hang the caliper from the strut assembly, or if you removed the assembly like me, then hang it from the strut top bolt holes in the frame. This is so you don’t put any tension on the brake lines.
)
5) At this point, I would remove the tie rod end from the steering knuckle. If you have the strut assembly in place, the hub is solidly in place. (I probably should have done this before removing the strut assembly to make it alot easier…) Anyway, remove the cotter pin and 17mm bolt from the bottom of the tie rod end. Attach a 2 or 3 jaw puller to pop the tie rod out of the steering knuckle.
)
6) Scribe a mark in the strut bracket to indicate the current camber position. (Ignore the loose bolt and the brake line…)
)
7) Remove the steeering knuckle from the strut assembly, two 17mm nuts/bults. (Ignore the brake line.)
)
8) Remove the two 14mm bolts that hold the knuckle to the ball joint.
)
)
The steering knuckle should then fall in your lap and you are ready to take it to a machine shop to have them press out/in the wheel bearings. Or if you have the proper tools, you can do it yourself. I just took it to a shop, $25 for one hub.
)
)
9) Now would be a good time to change the ball joint and tie rod end if you haven’t in a long while.
10) The installation is opposite the removal.
This documentation in no way replaces the Toyota MR2 Repair Manuals. The purpose of this content is only to provide supplementary information to fellow MR2 enthusiasts. Midship Runabout and its contributing authors will not be held responsible for any injury or damages that may occur as the result of practicing any of the methods or procedures described within this website. Article and photo submissions are property of the contributing author.