First of all a disclaimer- I am not a professional, merely an ungifted amateur. This guide is simply how I installed my shifting cable bushings and I accept no responsibility for any damage or accidents you incur if you choose to follow this guide.
These are designed to replace the oem rubber bushings in the engine compartment to improve feel at the gear stick.
I felt an install guide would be useful as there were a few things i would have done differently if i was doing this again.
Bought from speedsource here
Cost about £12 shipped.
In the packet.

First be aware that the two bushings differ slightly, one is marked L for lower, and goes on the lower of the two linkages.
I unplugged the passenger side 02 sensor to give a little more room.
First remove both cable ends, simply pull off the cotter pin and remove the top washer on each one, this allows you to lift the linkage and bushing off the shaft.

Now we need to remove the oem bushings you can see in the picture above.
This can be tricky, i found the best way was to push a slim flat blade screwdriver through the rubber then lever the bushing out.
Once out you are left with an empty ring.

And two oem bushings,

The instructions now tell you to remove the lower washers from the shaft, but mine had none.
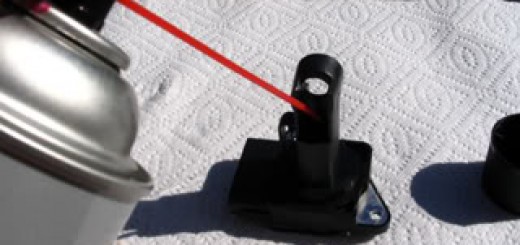
Use the supplied piece of emery cloth to clean the shafts up if they require it.
Start with the lower of the two linkages at the left hand side as it will be easier to work on whilst the other is unattached. Place the speedsource bushing marked L in the ring with the groove to the top.
You now need to secure this by putting the e clip into the groove. I highly recommend you put a rag underneath the area you are working at to catch the e clip if it drops as it needs a fair amount of force to go on. I didn’t and subsequently lost an e clip.
Once the e clip is on replace the cotter pin with one of those supplied.
Repeat for the other linkage..
Job done.
Tbh, i have not noticed a great deal of difference, perhaps because my car has only 3000 miles on it, however Magicd from spyderchat who suggested these to me to compliment the che short shifter, found them to make a big difference.
This documentation in no way replaces the Toyota MR2 Repair Manuals. The purpose of this content is only to provide supplementary information to fellow MR2 enthusiasts. Midship Runabout and its contributing authors will not be held responsible for any injury or damages that may occur as the result of practicing any of the methods or procedures described within this website. Article and photo submissions are property of the contributing author.